Dakota Lithium: The Story Behind This Practical Sustainable Energy Product Company
READ THE ARTICLE


Summer is such a fleeting season, especially in Canada. Whether on our local trails or a weekend road trip, we spend as much of the season on our mountain bikes as possible.
We made do with a Ford F150 dirtbag camper for five years. We lived under the canopy with our bikes chained to the bike rack outside. Climbing in and out was easy, but it wasn’t quick or comfortable. Anytime we left the vehicle unattended, we feared our bikes could get stolen. We dreamed about a van build on every road trip that would keep our bikes locked inside, give us more living space, and let us extend trips longer. We finally ordered a 2021 Ford Transit Van. We have since learned we timed it perfectly, as we only had to wait four months between ordering it and driving it off the lot.
Collectively, we had zero experience with this type of project. Armed with little more than a basic tool kit and YouTube tutorial knowledge, we started building. We insulated with Havelock wool, kept things simple with plywood walls, and built a sturdy platform bed that would leave us space for four bicycles underneath it. It really came together faster than we thought.
But the electrical system intimidated us the most, so we put it off as long as possible. We had no idea how to build a proper setup; however, we found lots of great resources online, help from Dakota Lithium and Modern Outpost, and recruited a friend that just happened to be an electrician. Throughout the process, we learned how it all works and really walked away, surprised by how easy it was.
Our first decision was based on quality. We’re building the van to use on mountain bike trips. We didn’t want a never-ending project that we were constantly tweaking. With that in mind, we overbuilt things slightly and only used premium parts from Dakota Lithium, Victron, and Samlex. We could have spent less, but we know this stuff should last as long as the van.
Before we jump into the details, let’s look inside the van.

Our MTB-focused Van Tour
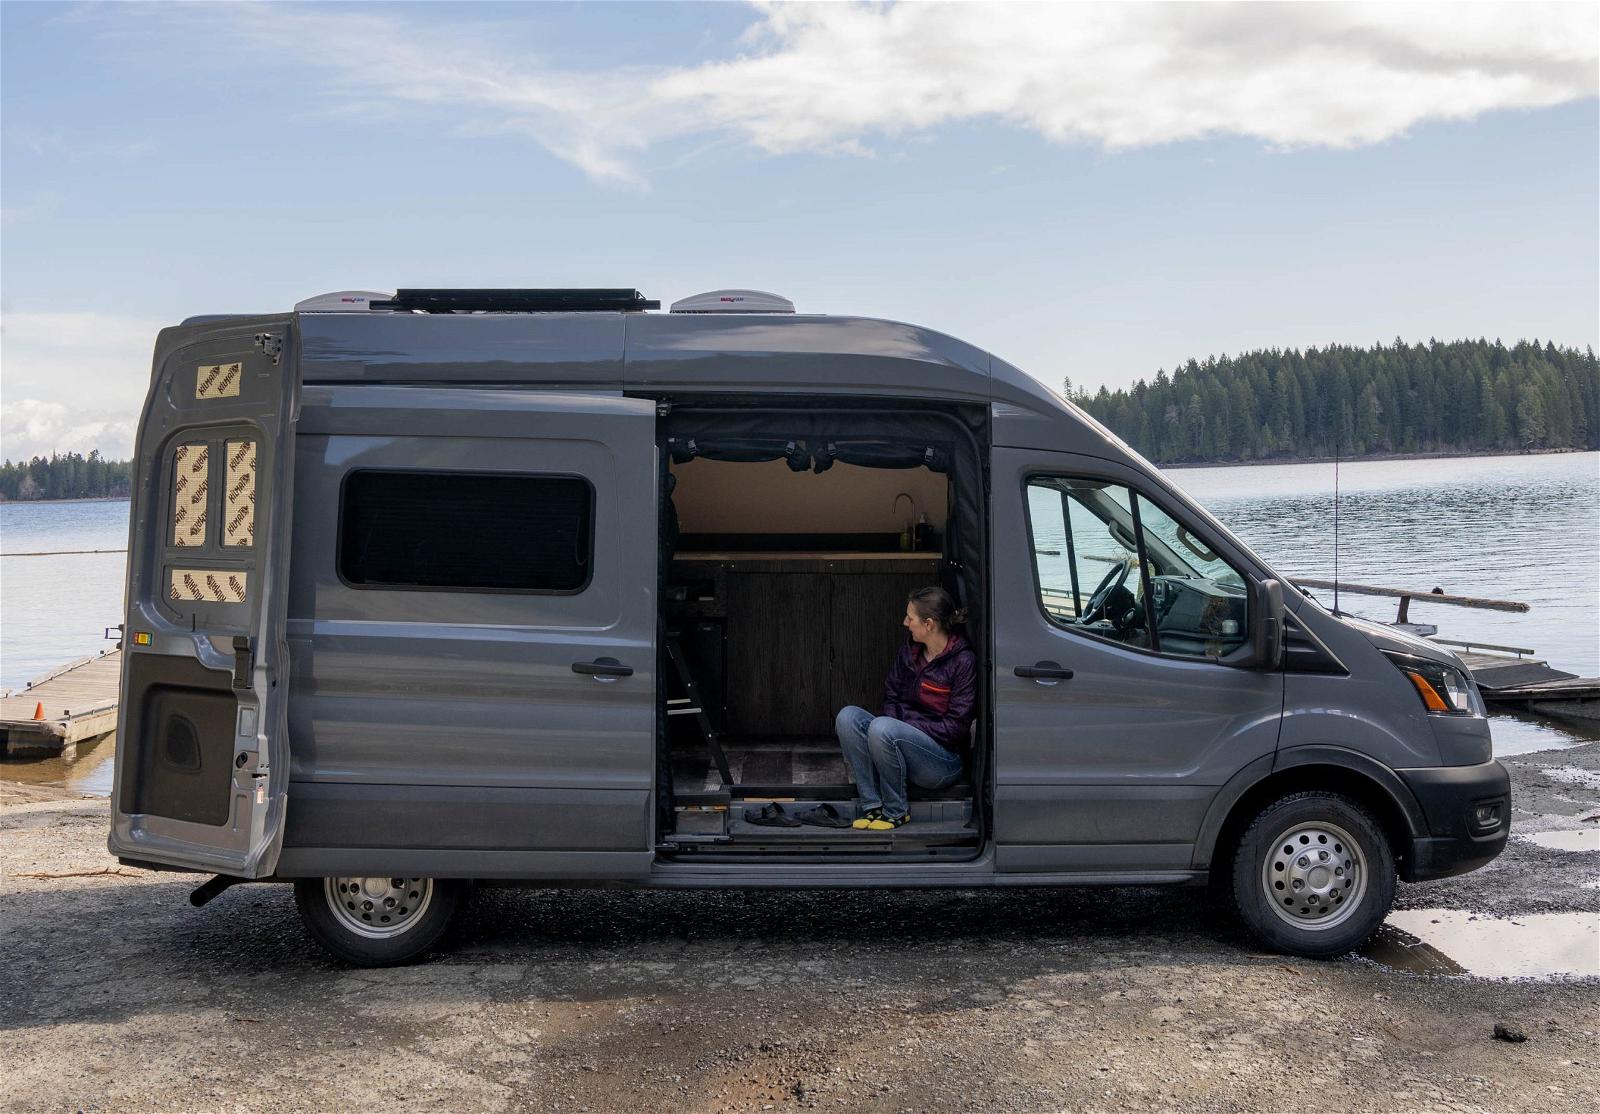
We purchased a 2021 Ford Transit AWD EcoBoost. We configured it with a high roof and long wheelbase. We debated the extended length but opted for the long-wheelbase model because it’s easier to drive in cities, and it has better departure angles when offroad.
After we ordered it, we had a four-month wait before it arrived. We spent that time searching Instagram and YouTube for ideas. We found so many beautiful vans and helpful tutorials, but we felt most looked like small apartments crammed inside a van body. There was just too much going on. We didn’t want a home on wheels. We wanted a comfortable way to go camping.
As we designed our van, we prioritized four things:
We ended up with a wide-open floor plan that we modified based on the trip and situation. The walls and ceiling are all 1/4″ plywood, which we stained with a single coat. Hidden behind them is 2.5″ Havelock wool. We choose Havelock because it’s natural and has antimicrobial properties. We live in a humid place, so having insulation that doesn’t require a vapor barrier and wick moisture was paramount.
Starting in the cab, we added a swivel seat on the passenger side. On the driver’s side, we built the kitchen cabinet directly behind the seat. To make sure there would never be a space issue, we pushed the driver seat all the way back before measuring the kitchen cabinet space.
In the kitchen, we build a custom cupboard with a butcher block countertop. There are three main sections: a 12V fridge on the left, food storage in the middle, and our water and propane system on the right. Within each section, we built shelves to maximize our storage space. The water system is basic, with two 20L tanks for fresh and greywater. It’s operated by a foot pump installed on the floor. The 12″ round sink is plumbed with a low-flow drinking water faucet and drains directly into the grey water tank. Once we had the kitchen cupboard installed, we realized we needed a bumper to prevent food or water from spilling down behind it. We added that in and sealed the edges with silicone.
We stuck with our Coleman stove because we like to cook outside whenever weather permits. With that same motivation, we didn’t build a bench into the van. We simply use a camping chair when we want a second seat.
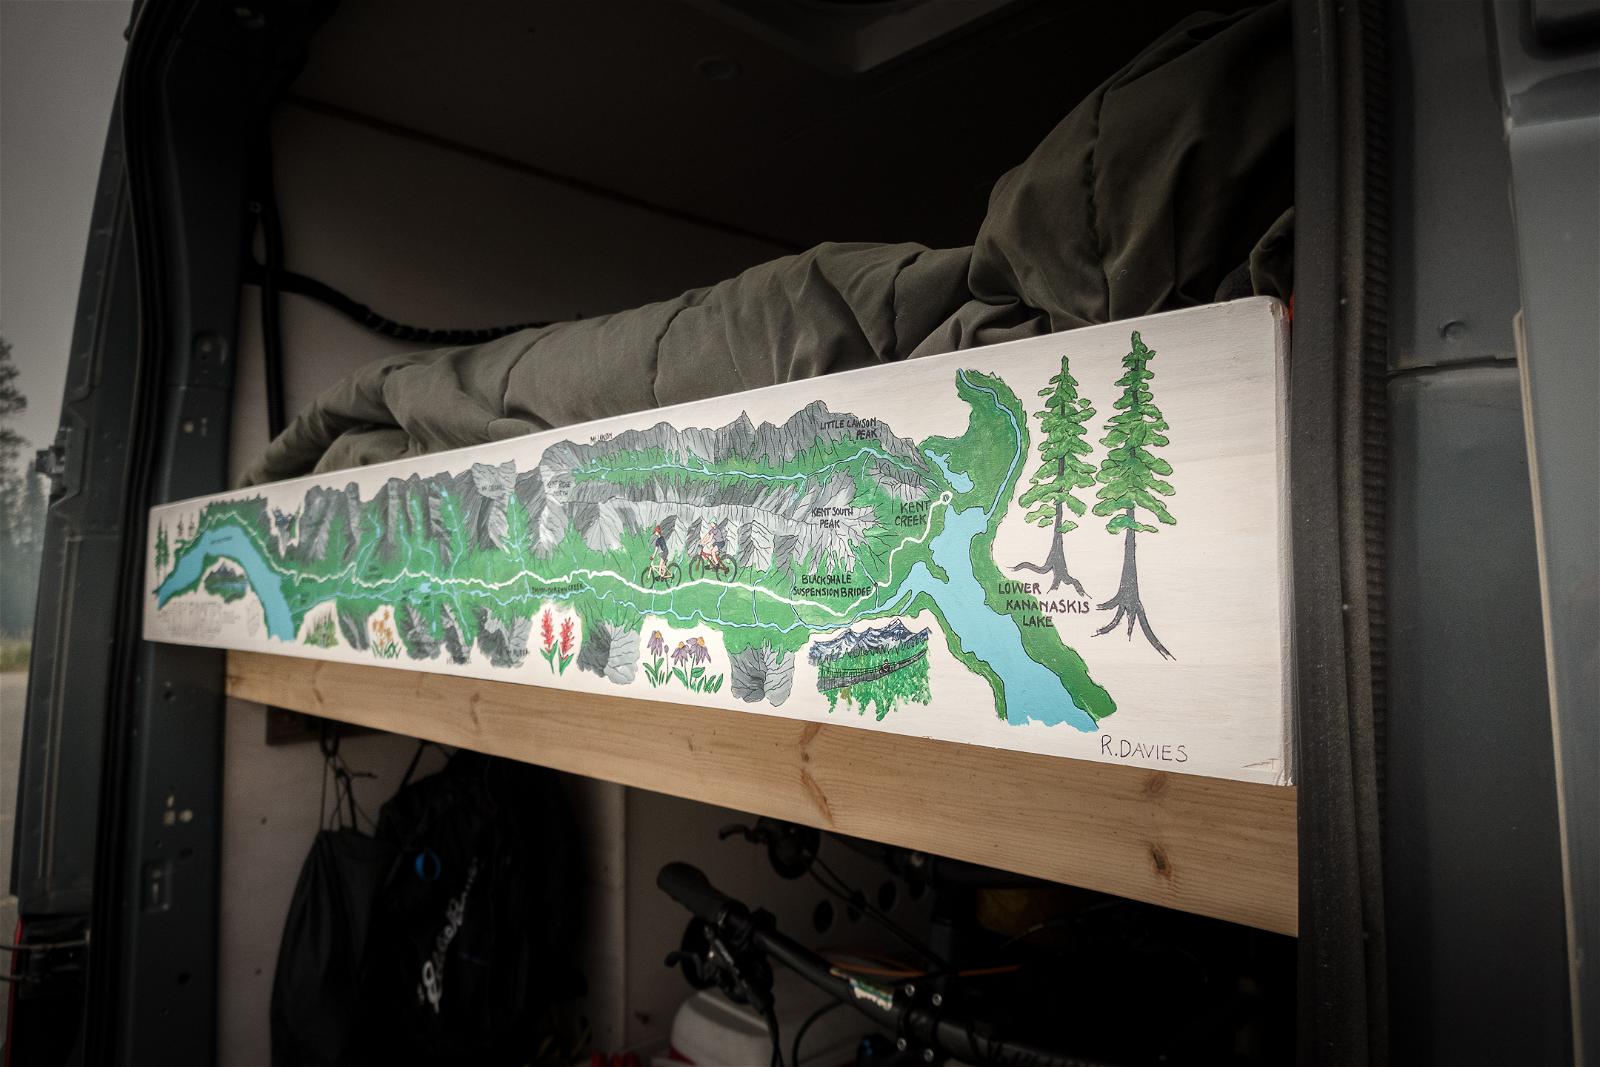
Because of our heights, we knew we needed to sleep lengthwise rather than across the van. It turns out it was necessary anyway because of the wheelbase of our mountain bikes. The bed platform is simple. It holds a double mattress and leaves room for our Ikea packing cubes. The bottom of the bed frame is mounted 38″ off the floor.
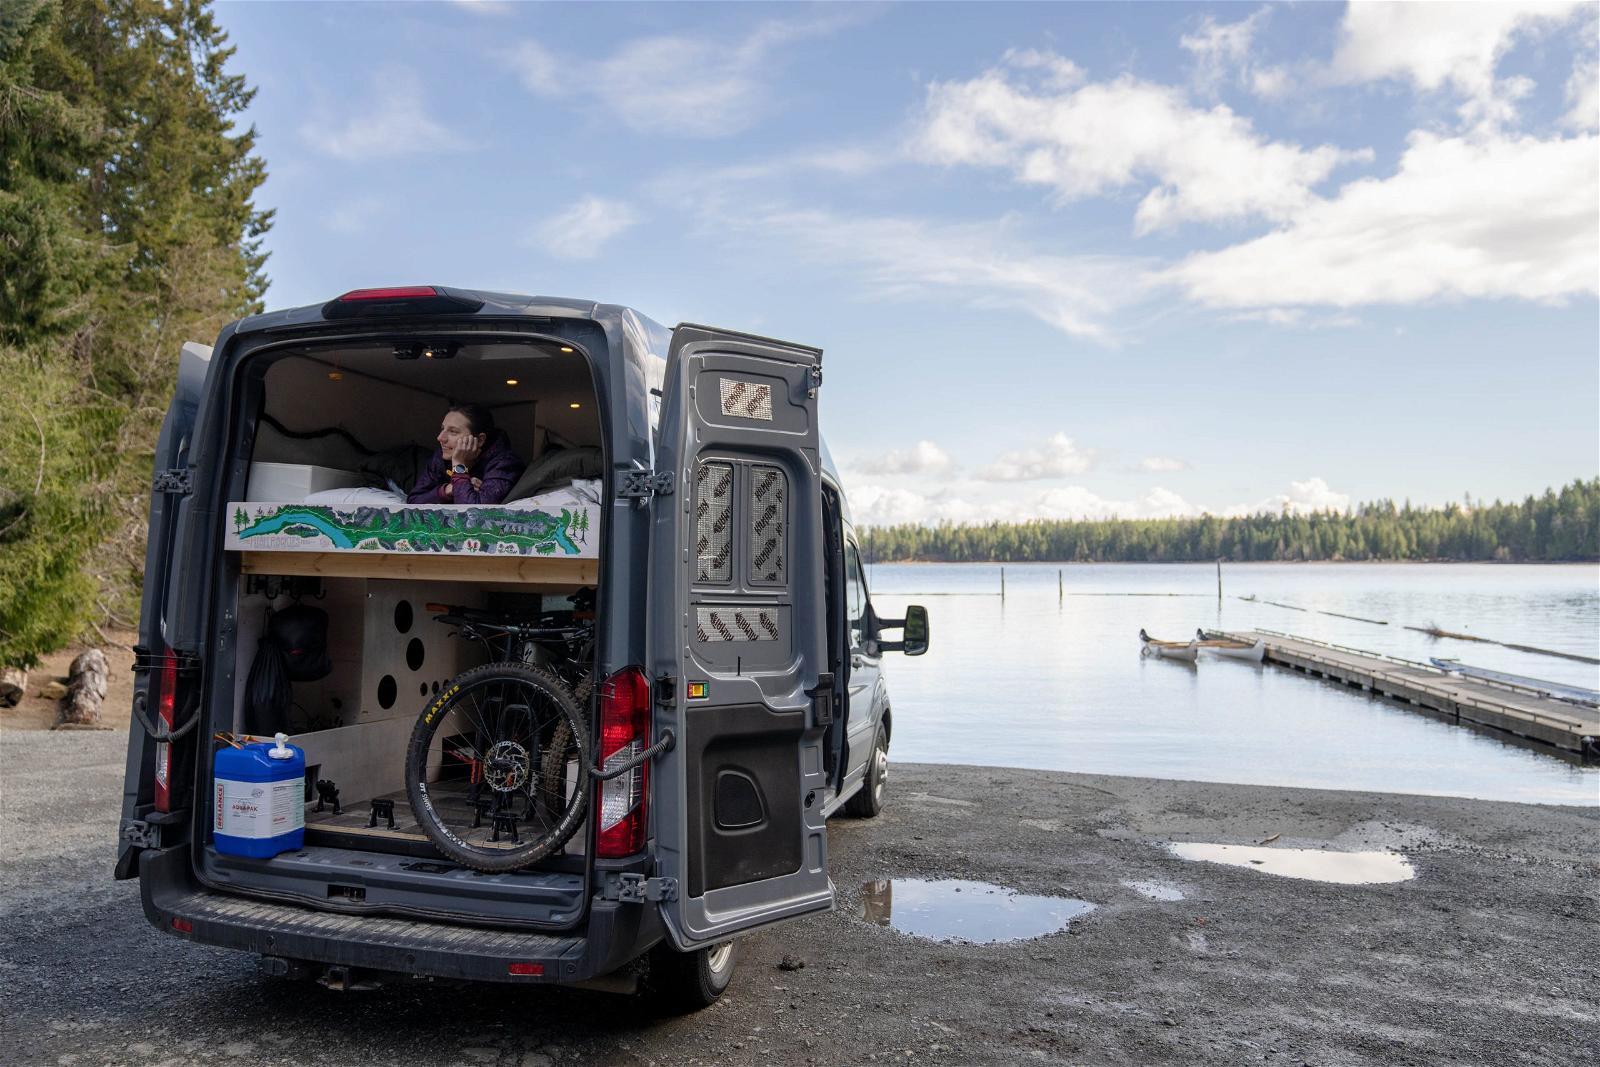
In the garage, we built two wheel-well cabinets. One side is strictly for storage, while the other houses our electrical system. Between the two cabinets, we have four Rocky Mount bike clamps mounted on a separate piece of plywood that can be removed when we don’t need them.
For airflow, we installed two MaxxAir fans on the roof and a passenger door window. The three work perfectly together and give us options on which way we want to circulate air.
Our Electrical System Overview
With the bulk of our build done, it was finally time to focus on the electrical system. After consulting some online guides and with Modern Outpost, we had sketched out our system and ordered the components.
Like most home-designed van kits, we tried to fit a lot of components and wires into a small area to conserve space. It took more time to figure out the layout than we could have imagined. We wanted to avoid having components too close together, where heat could become an issue. We also learned that wire can only bend so much before the heat can become an issue, which added an extra issue to our layout.
Once everything was bolted to our electrical panel, we installed it in our van and started wiring. One big decision we made early in our build was that we wouldn’t try to hide all the wiring behind the walls. While it’s an aesthetically pleasing option, we never want to get into a situation where we must take panels off to make a basic repair. We did our best to hide the wiring behind cabinets and beneath the bed, but it’s all easy to replace or repair.
We used braided wire, commonly called automotive wire, throughout the entire build. It’s critical because it’s exponentially more durable than traditional wire and can withstand years of bouncing up and down forestry roads.
For a reliable ground, we connected an existing ground point in the rear cargo area to a bus bar on our electrical panel with a 2/0 wire. This allowed us to ground each component into the bus bar.
Charging Systems and Batteries
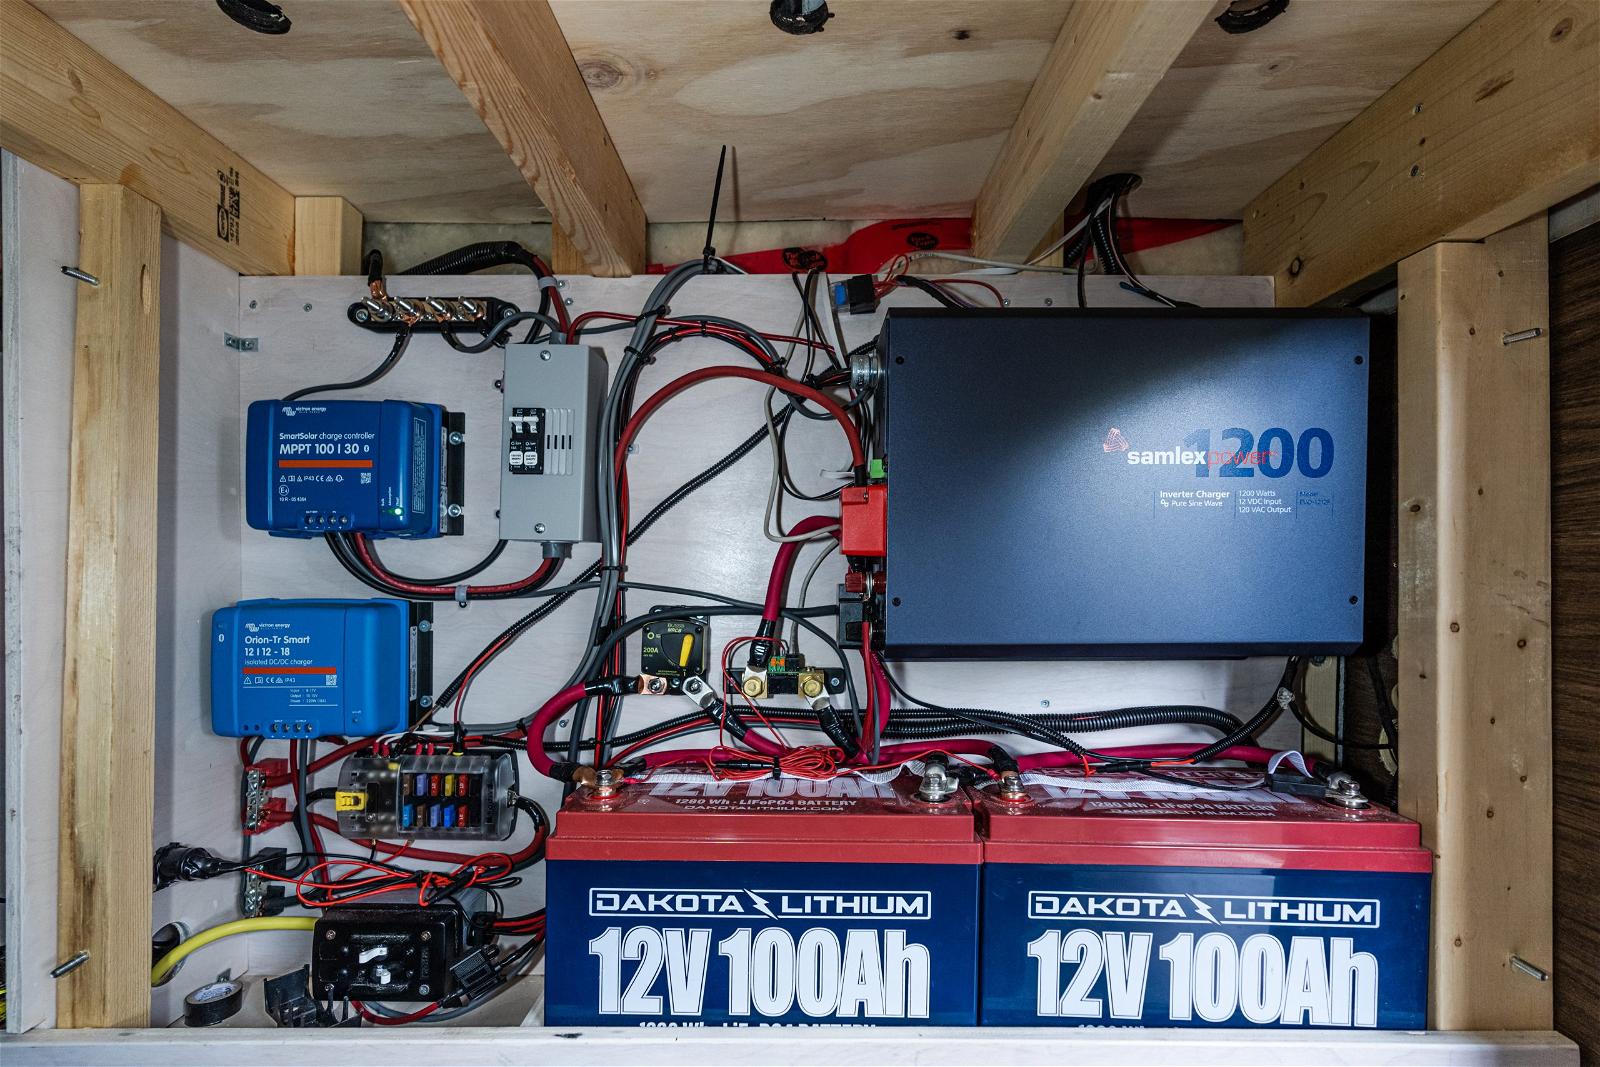
We designed our build around two Dakota Lithium 12V100A batteries wired in parallel, which we knew would give us tremendous battery life. They’re wired through a 250A circuit breaker, which acts as our master switch. To charge them, we opted for the trifecta of solar, DC to DC and shore power.
In the summer months, we could easily rely on solar power alone; however, it seemed logical to include a DC-to-DC charger to take advantage of time spent on the road. Because we also planned to use the van throughout the winter, when power demand is increased to run our heater and solar is decreased because of weather, we also built in a shore power option. In hindsight, it might have been unnecessary, as we’ve still never used it.
Solar components:
Our solar panel choice was extremely limited because we installed two MaxxAir fans for ventilation. Because of this configuration, we searched for a panel that would fit between the fans without hanging over the side of the van. The LG NEON2 320W panel fit perfectly, and it was our only choice. The panel is wired into a Victron BlueSolar MPPT 100 | 30 Solar Charger.
Connecting the solar charger to our electrical system is where we learned our first lesson about circuit breakers. We needed a 15A breaker between the panel and the charger and a 30A breaker between the charger and our electrical system.
Dc to Dc Components:
There are bigger and faster chargers; however, we felt like the DC-DC charger would always be our secondary source. It was easy to wire in, too, because the Fort Transit has not only the battery located under the driver seat but also power charging nodes on the seat itself. We did add an inline fuse to protect the system.
We chose the isolated DC-DC charger because the Dakota Lithium batteries have enough output that they can damage the vehicle battery and alternator. We only want power flowing in one direction.
Shore Power Components:
Our original plan was a simple 1000W inverter, but during our search, we discovered the Samlex Evolution F Series 1200W inverter that would give us a bit more power output. Another key feature was that it had built-in shore-power capabilities that would allow us to run our entire electrical system and charge at the same time.
To wire this into the system, we had to add a second set of circuit breakers. One side is to protect the incoming shore power, and the other is to protect the 120V plug.
Our DC Power System
Our DC system is the workhorse of our build. It’s always on because we use the van regularly both for adventures and as our second vehicle. We leave the fridge stocked and running year-round. It’s also nice having the lights, fans, and heater available whenever we need them.
For our Indel B fridge, we wanted to be able to turn it off without pulling the fuse, so we wired it through a 12V plug.
Although we kept most of the wiring accessible, the MaxxAir fans and lights are the exceptions because we had to hide the wiring above the ceiling. The MaxxAir fans are wired in parallel to a single fuse. The eight LED lights are also wired in parallel through a single American Technology Components 12V dimmer switch. We used twist-on connectors to wire everything together, which proved to be an easy solution.
To make the fuse box connections easy, we added stake-on connectors to all our wires. This means it’s easy to connect and disconnect any component from the system as we need.
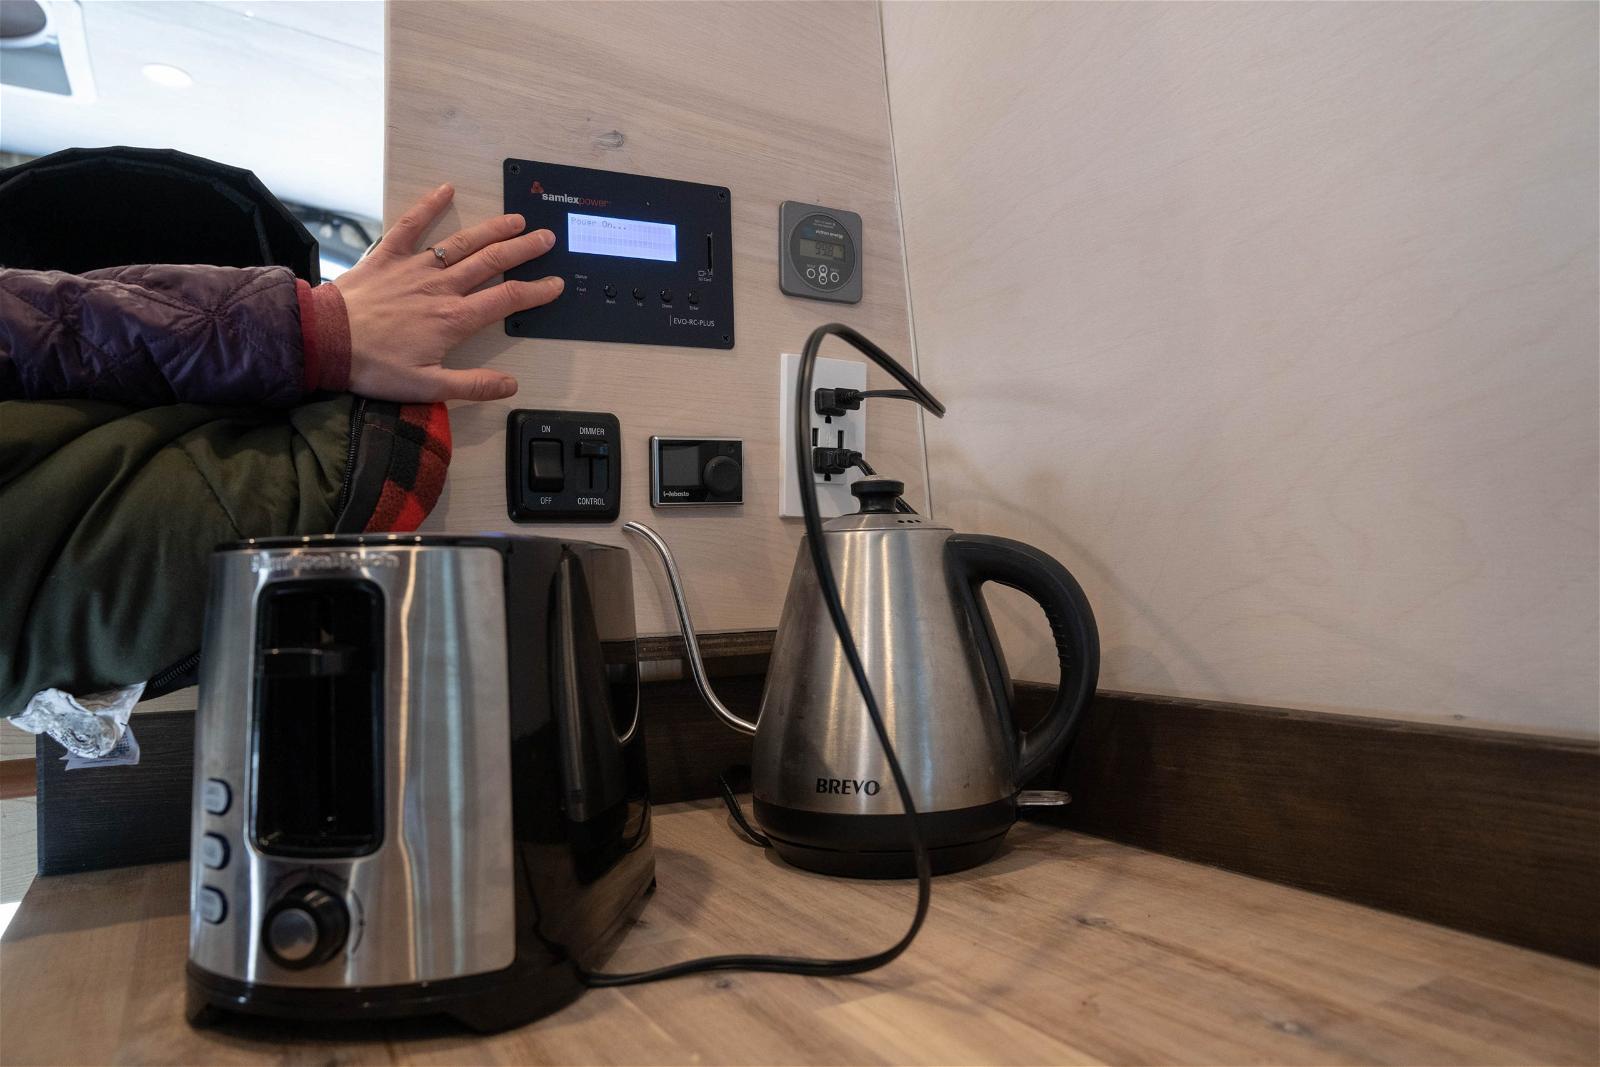
Our AC System
When we started our build, we assumed that we would use the inverter all the time. In reality, we use it to power two appliances: a toaster and a kettle. Despite being the most expensive component in our system, it’s also the least efficient. Boiling 1.5L of water uses 9% of our battery capacity. Toasting bread uses 3%. Essentially, we use more power in 5 minutes running the inverter than we do all day running our 12V system.
Unfortunately, we haven’t found a great 12V kettle or toaster to replace ours with, so it’s a necessary evil even if it feels like we spent $1000 to make breakfast.

What’s Next?
Remember when I mentioned we wanted to build the van once and then use it rather than create an ongoing project? We succeeded. We’ve owned the van for just over one year and finished the build last June. But there are two things we want to do:
We’ll get to both small projects eventually, but for now, we’re focusing on using the van whenever we have time off. It’s bike season.