

Whether it’s during construction of a brand new van conversion or adding charging capacity to an existing RV electrical system, there is plenty to consider when shopping for solar panels. While it is possible to make changes or upgrades later, it’s always more economical and easier to implement the right system from the beginning.
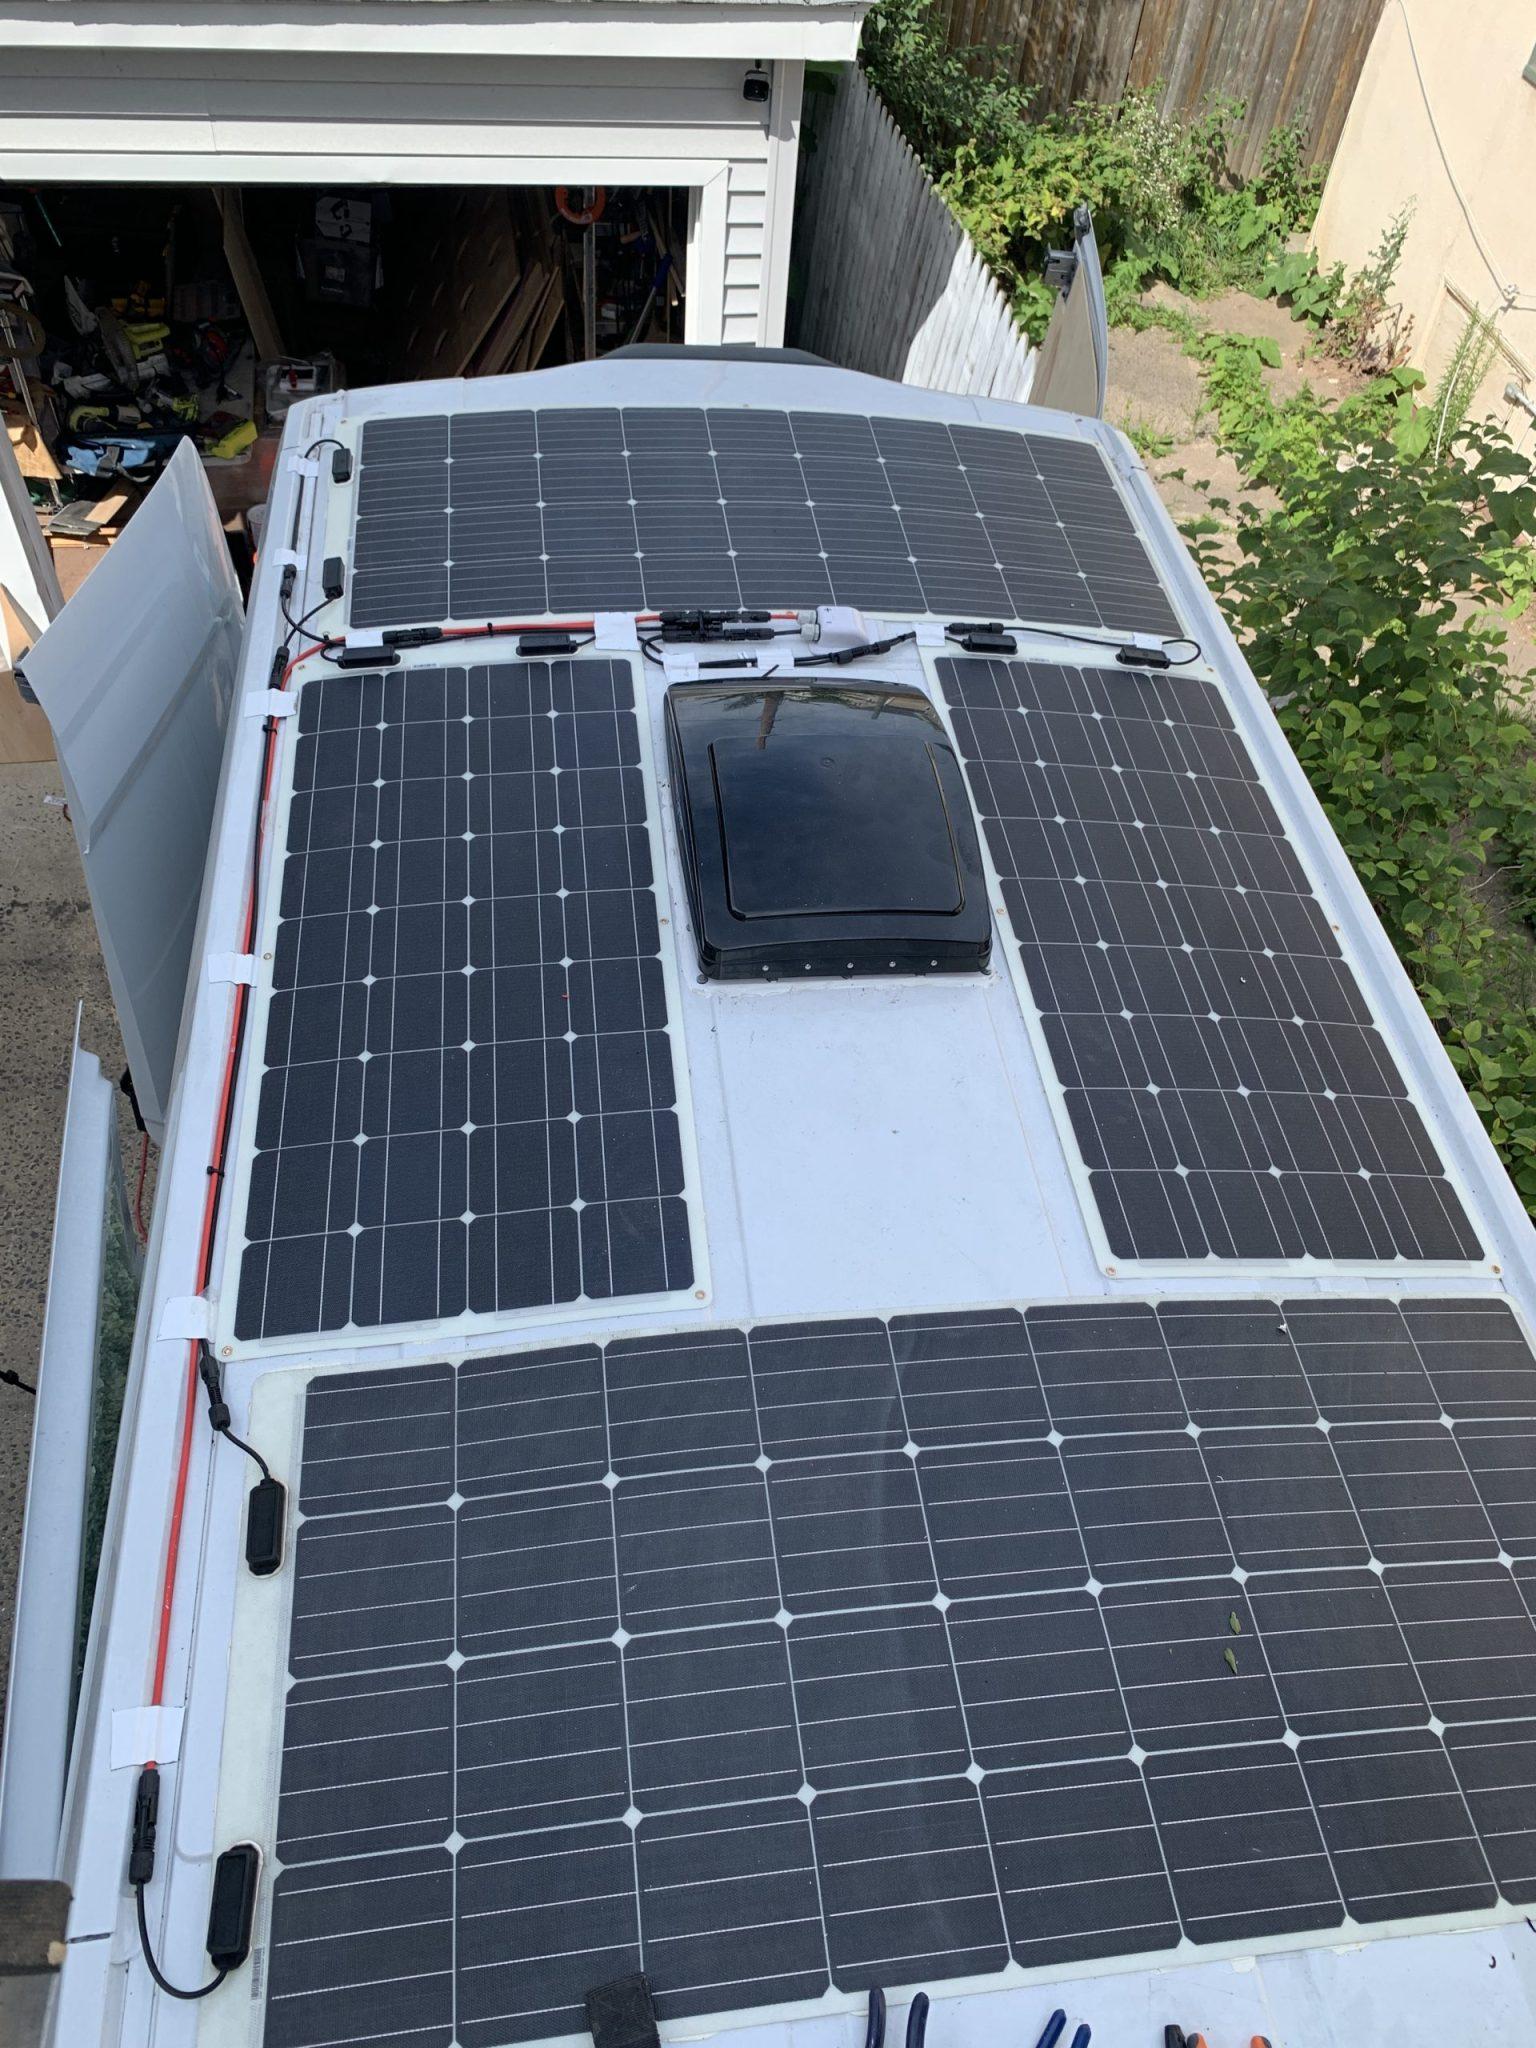
Solar Panels and Dakota Lithium Batteries on a Sprinter Van
Because every application is different, it’s impossible to create a one-size-fits-all guide. Whether the solar panels are being installed to power a tiny house or folded up to be carried into the backcountry, this three step checklist highlights the most important things to consider when shopping for solar panels.
Defining the required charging capacity is a critical first step. In most cases, this can be calculated based on two factors: available storage capacity (batteries) and expected power use. It’s important to find a balance between purchasing a more powerful solar panel than required and avoiding power shortages or restricting use at times when charging is negatively affected.
In ideal conditions, it’s safe to calculate that a 100W solar panel can charge 25Ah per day. During poor weather, over the winter months, or shading can greatly reduce this number.
Prior to building our MTB adventure van, I had zero experience with solar panels, but I knew we required a panel that could keep our two Dakota Lithium 12V 100Ah Deep Cycle LIFEPO4 batteries charged efficiently. While we never require high amounts of continuous electricity – we don’t run an induction stovetop and we bought an efficient 12V refrigerator – we have high-demand usage periods when using the 1200W inverter to power 120V house appliances like a kettle or toaster. Because we estimated our daily maximum use to be close to 75Ah, we knew we needed at least a 300W panel.
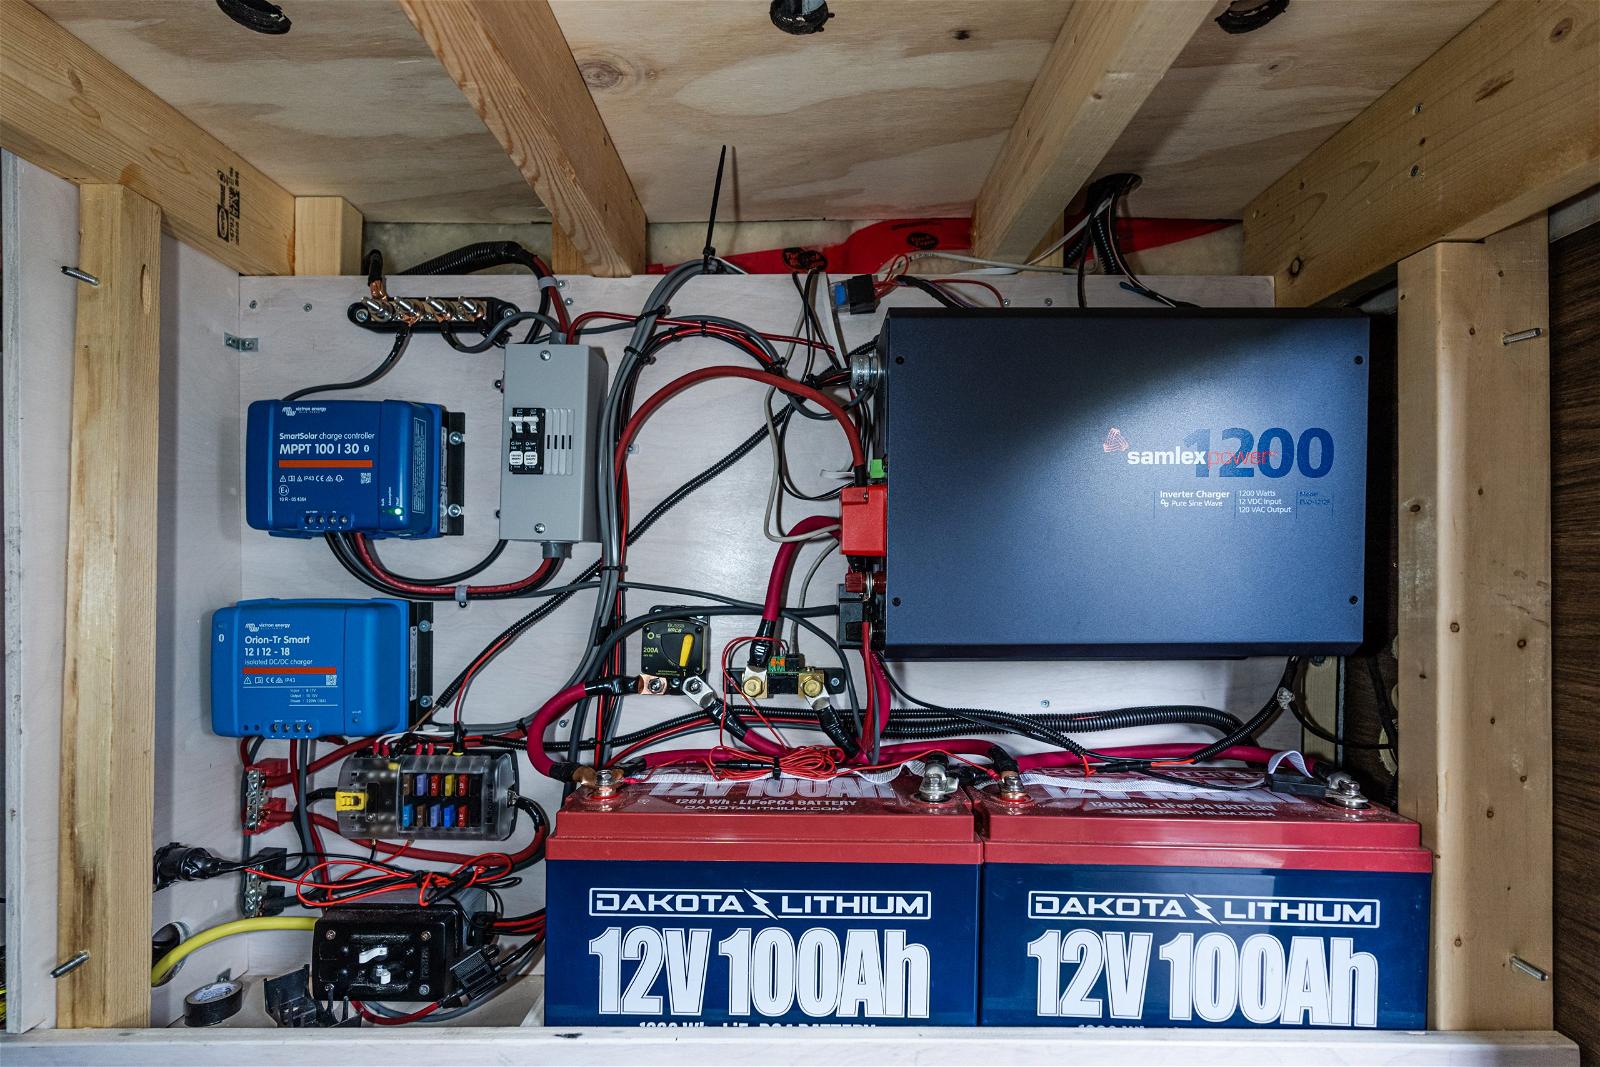
J Barlette 2021 Sprinter VanLife – 2x Dakota Lithium 12V 100Ah
Keep in mind, not everyone will find it essential to fully charge the battery from the solar panels. In most vehicle-based applications, the house battery charges whenever the vehicle is running. It’s also common to use shore power at campgrounds to top up batteries and power the electrical system.
For something like the Dakota Lithium PowerBox 60 Waterproof Power Station, a portable solar panel might be used to extend its use in a backcountry setting. It can be fully recharged at home.
Measure twice, cut once. It’s an age-old carpentry saying but when adapted to solar panel installation, it’s more accurate to say: Measure twice, buy once. Whether installing multiple panels in parallel or bolting a single panel onto a van, it must fit within available space.
This step is less critical when installing panels independent of any structure or vehicle, but it’s still an important consideration. Even when installing a series of panels adjacent to a cabin, rather than on its roof, it’s important to measure the area with adequate sun exposure to fully understand the available space.
Jeff Bartlett – Solar and Lithium Power
In our case, our design placed limitations on the size of a panel that would fit on our van roof because we wanted to run two MaxxAir MaxxFans installed on our standard 148” wheelbase Ford Transit. There was so little space between the two fans, we couldn’t run the panel lengthwise. This meant we needed to find a panel that would fit with the long edge running across the van without hanging out over the edge. Most solar panels tend to be long and narrow, but we require something closer to a square. In the end, we found a single option – the LG NEON2 320W solar panel that fit within our design and provided the minimum 300W charging capacity we calculated above. If we had purchased the larger, extended Ford Transit, we would have found dozens of options that fit.
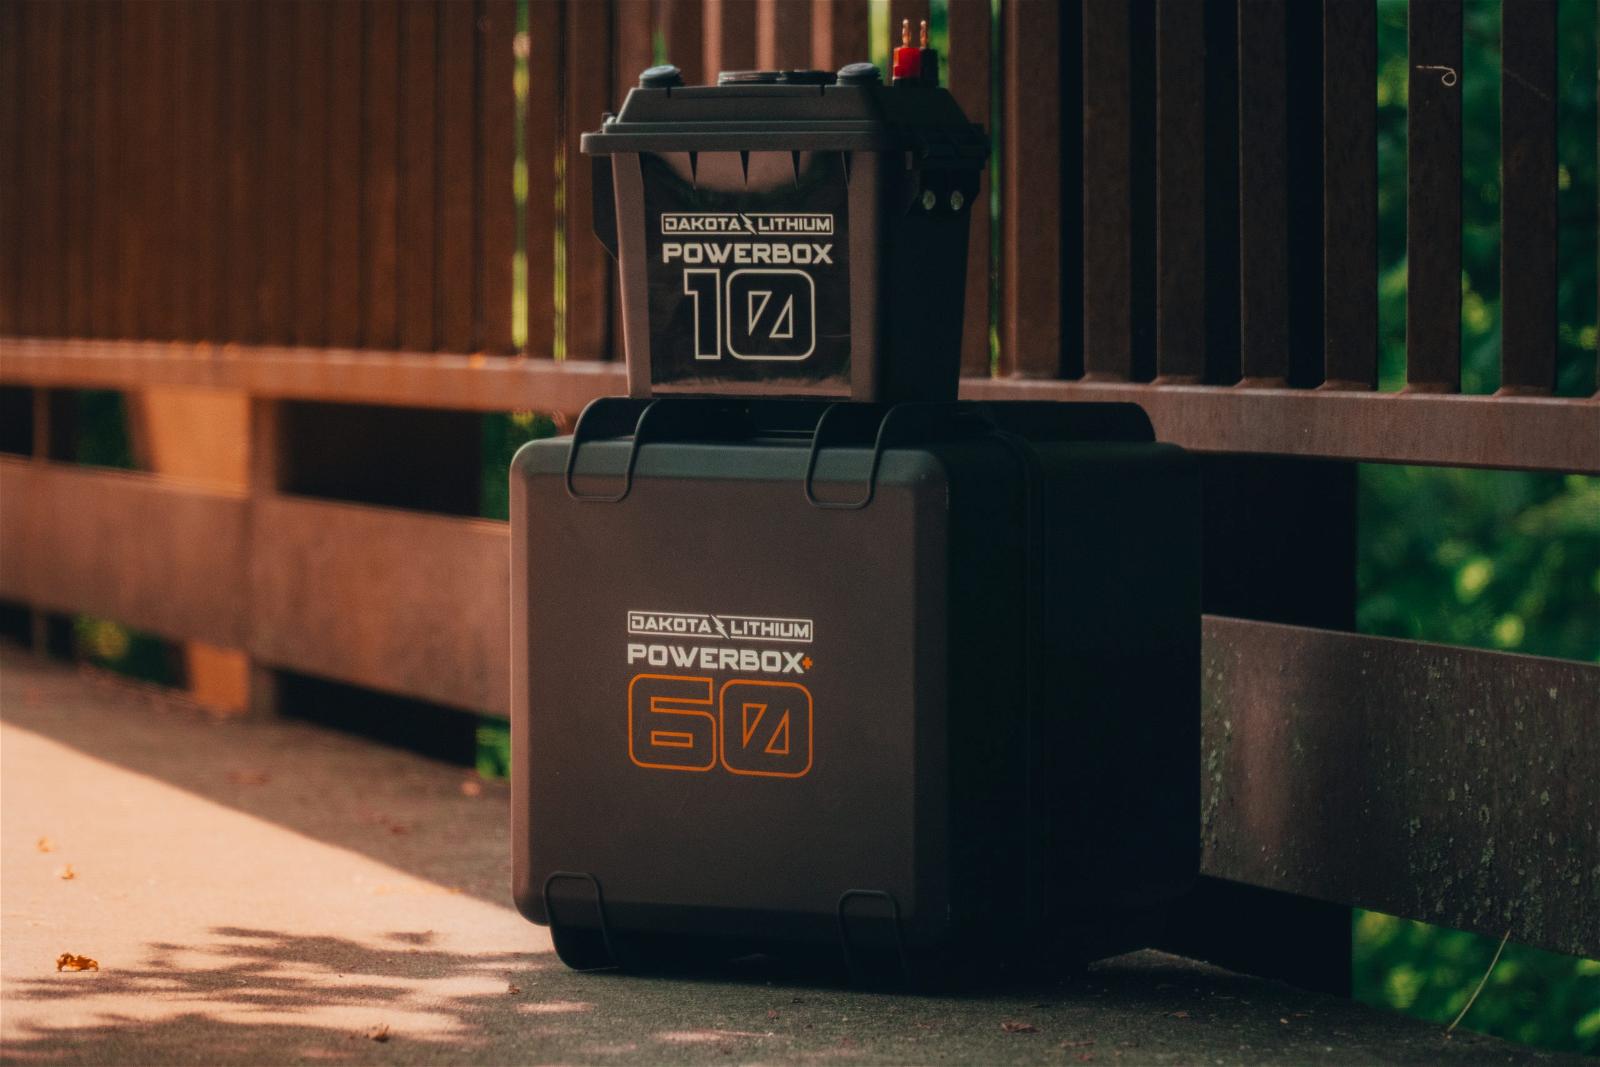
Dakota Lithium are great options for Portable & Auxiliary Power
Solar panels require direct sunlight to perform efficiently. Any shading can greatly reduce charging capacity and shading isn’t limited to cloudy days. Shading can occur from a variety of sources. Treed campsites are an obvious example, but any nearby objects can cast a shadow across a portion of a panel.
Think of an anchored system as any system that fixes the panel into a solid mount, even if it’s atop a moving vehicle. It’s not designed to move from its mount, so weight isn’t a chief consideration. We bolted our LG NEON2 320W solar panel onto a custom 80/20 aluminum Our only consideration was finding the largest panel that would fit our space. The downside to this setup is that our panel only moves when the van moves. If we’re parked comfortably in the shade, it isn’t charging.
Lightweight, portable panels are becoming more common. Dakota Lithium’s 180W Folding Solar Panel weighs less than 12 pounds and folds up into an easy to carry 17” X 11.5” X 1” package. Not only does this make it easier to carry panels to backcountry locations, but it simplifies campsite setups. It’s easy to set the panel in exposed sunlight and run cables back into a shaded campsite.
Not only can these types of panels be set up quickly, but they also adapt to more dynamic situations to increase the amount of time the panel can be exposed to direct sunlight. It only takes a few minutes to adjust a panel to face the morning sunrise or afternoon sunset.
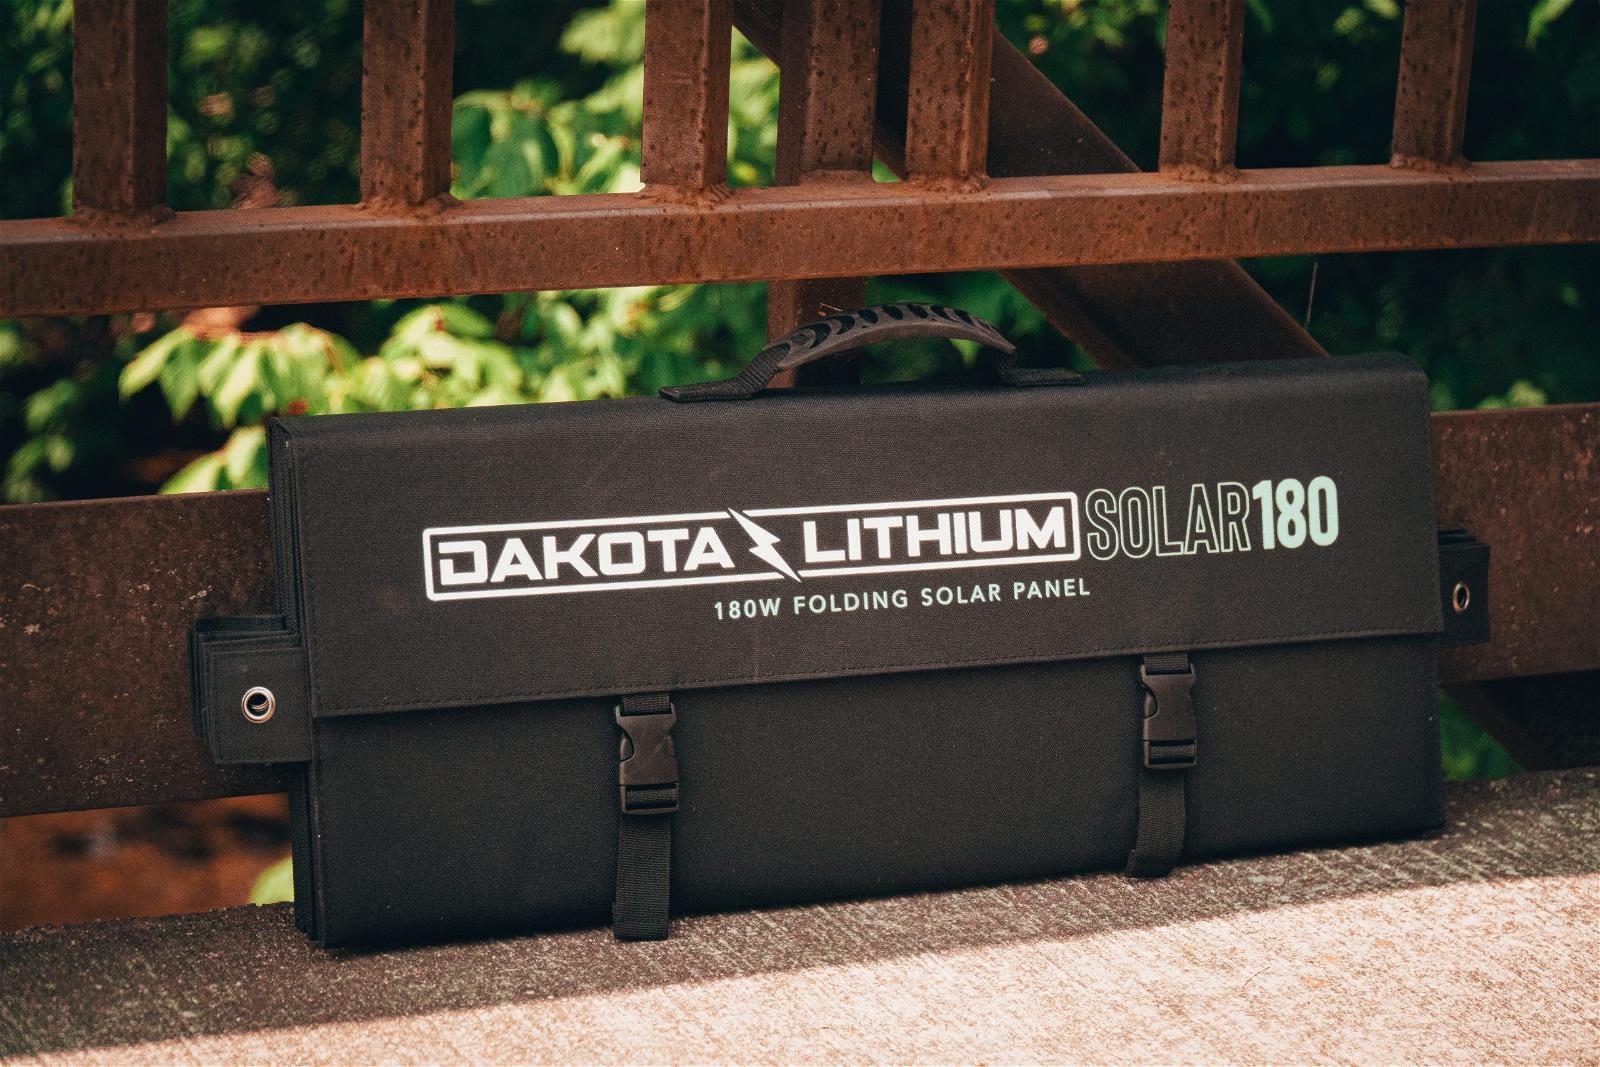
Dakota Lithium Folding Solar Panels are Perfect for Portable Power Sources
While determining the size, charging capacity, and portability are the three most important things to consider when shopping for a solar panel, it isn’t a definitive list.
Efficiency is often touted as important, but most modern panels achieve 19-21% efficiency. The variances are so small it feels far less important than it would have just a few years ago.
Aesthetics can be a priority in many applications. All black panels are becoming more common. These might suit architecture uses better or simply blend in when wiring multiple panels in parallel on a black roof.
The panels designed for homes can seem cumbersome in vehicle-based uses. They’re typically at least an inch thick and often require bulky mounts to hold them in place. Flexible panels allow for more creative placement, conforming the panels to uneven surfaces often found on RV, van or trailer roofs.